Commonwealth Star
-

The fabric choices for the Commonwealth Star wall hanging designed by Lindlee Smith of Plains and Pine. She notes in the pattern that Commonwealth Star is a combination of “commonwealth”, which she believes accurately describes the quilting community, and “star”, an interpretation of the Lone Star quilt. My daughter and her boyfriend asked me to make this for their dining room and it was fitting because they once lived in the Commonwealth of Virginia and now live in the Lone Star State!
-

Of course I immediately said yes to making this wall hanging but was a little bit daunted when I bought the pattern. Diamond shape pieces with alternating colors that need to match at the intersections?? But I took my time and was precise with the seam allowances and cutting so challenge accepted!
Strips are sewn together in what is called a strip set. The strip sets are cut at a 45 degree angle, 3 ½ inches wide.
-
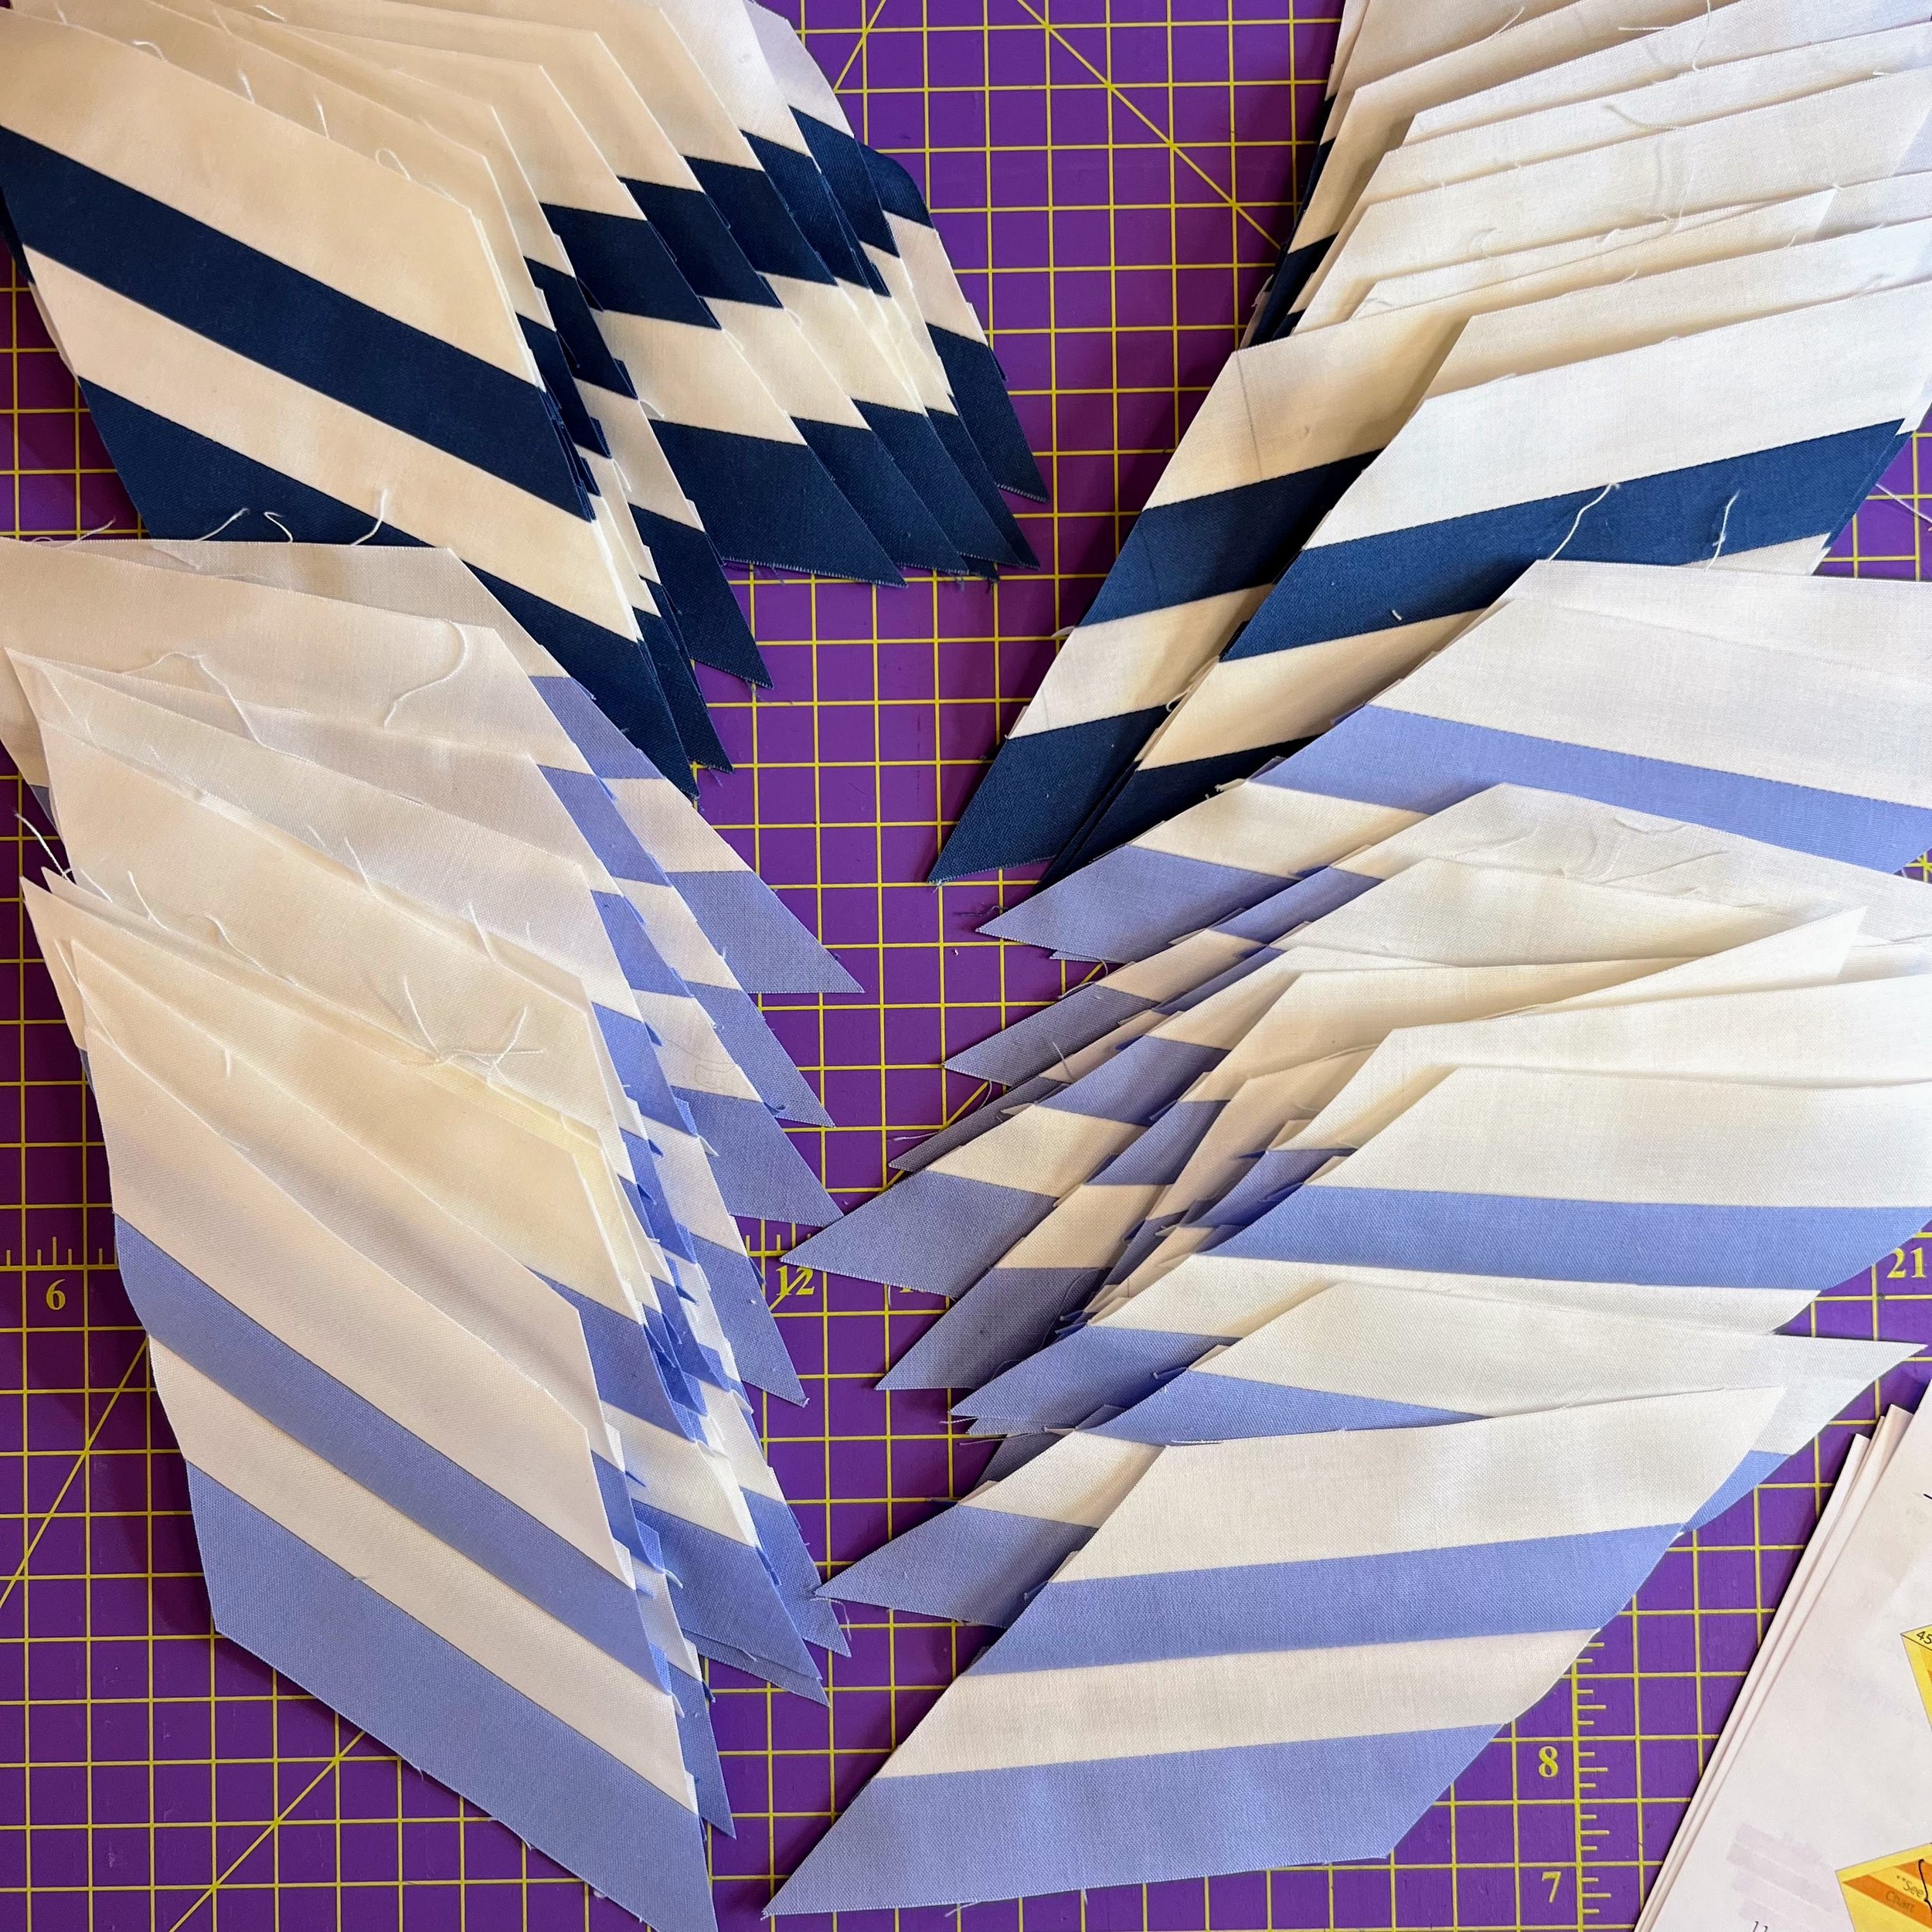
This wall hanging is made up of 48 angled blocks. Notice that half are cut in one direction and half in the other. Staying organized was the key here!
-

Once I had the blocks cut, I did a dry fit on the design wall. The blocks were sewn in a particular order so as I put them together, they went back on the wall to keep it all straight.
-

The pattern had excellent tips on how to match up the seams on pieces that are angled. First, I drew a line (with disappearing ink!) 1/4” from the edge on both sides of each block and put dots at each intersection.
-

Next, with right sides together, I put a pin through the intersection on the back of one block and matched it to the dot/intersection on the right side of the second block.
-

Continue on for each intersection. Notice there is a tail peaking out on each end? This is the challenge when piecing angles together as it seems like you should just line those ends up.
-
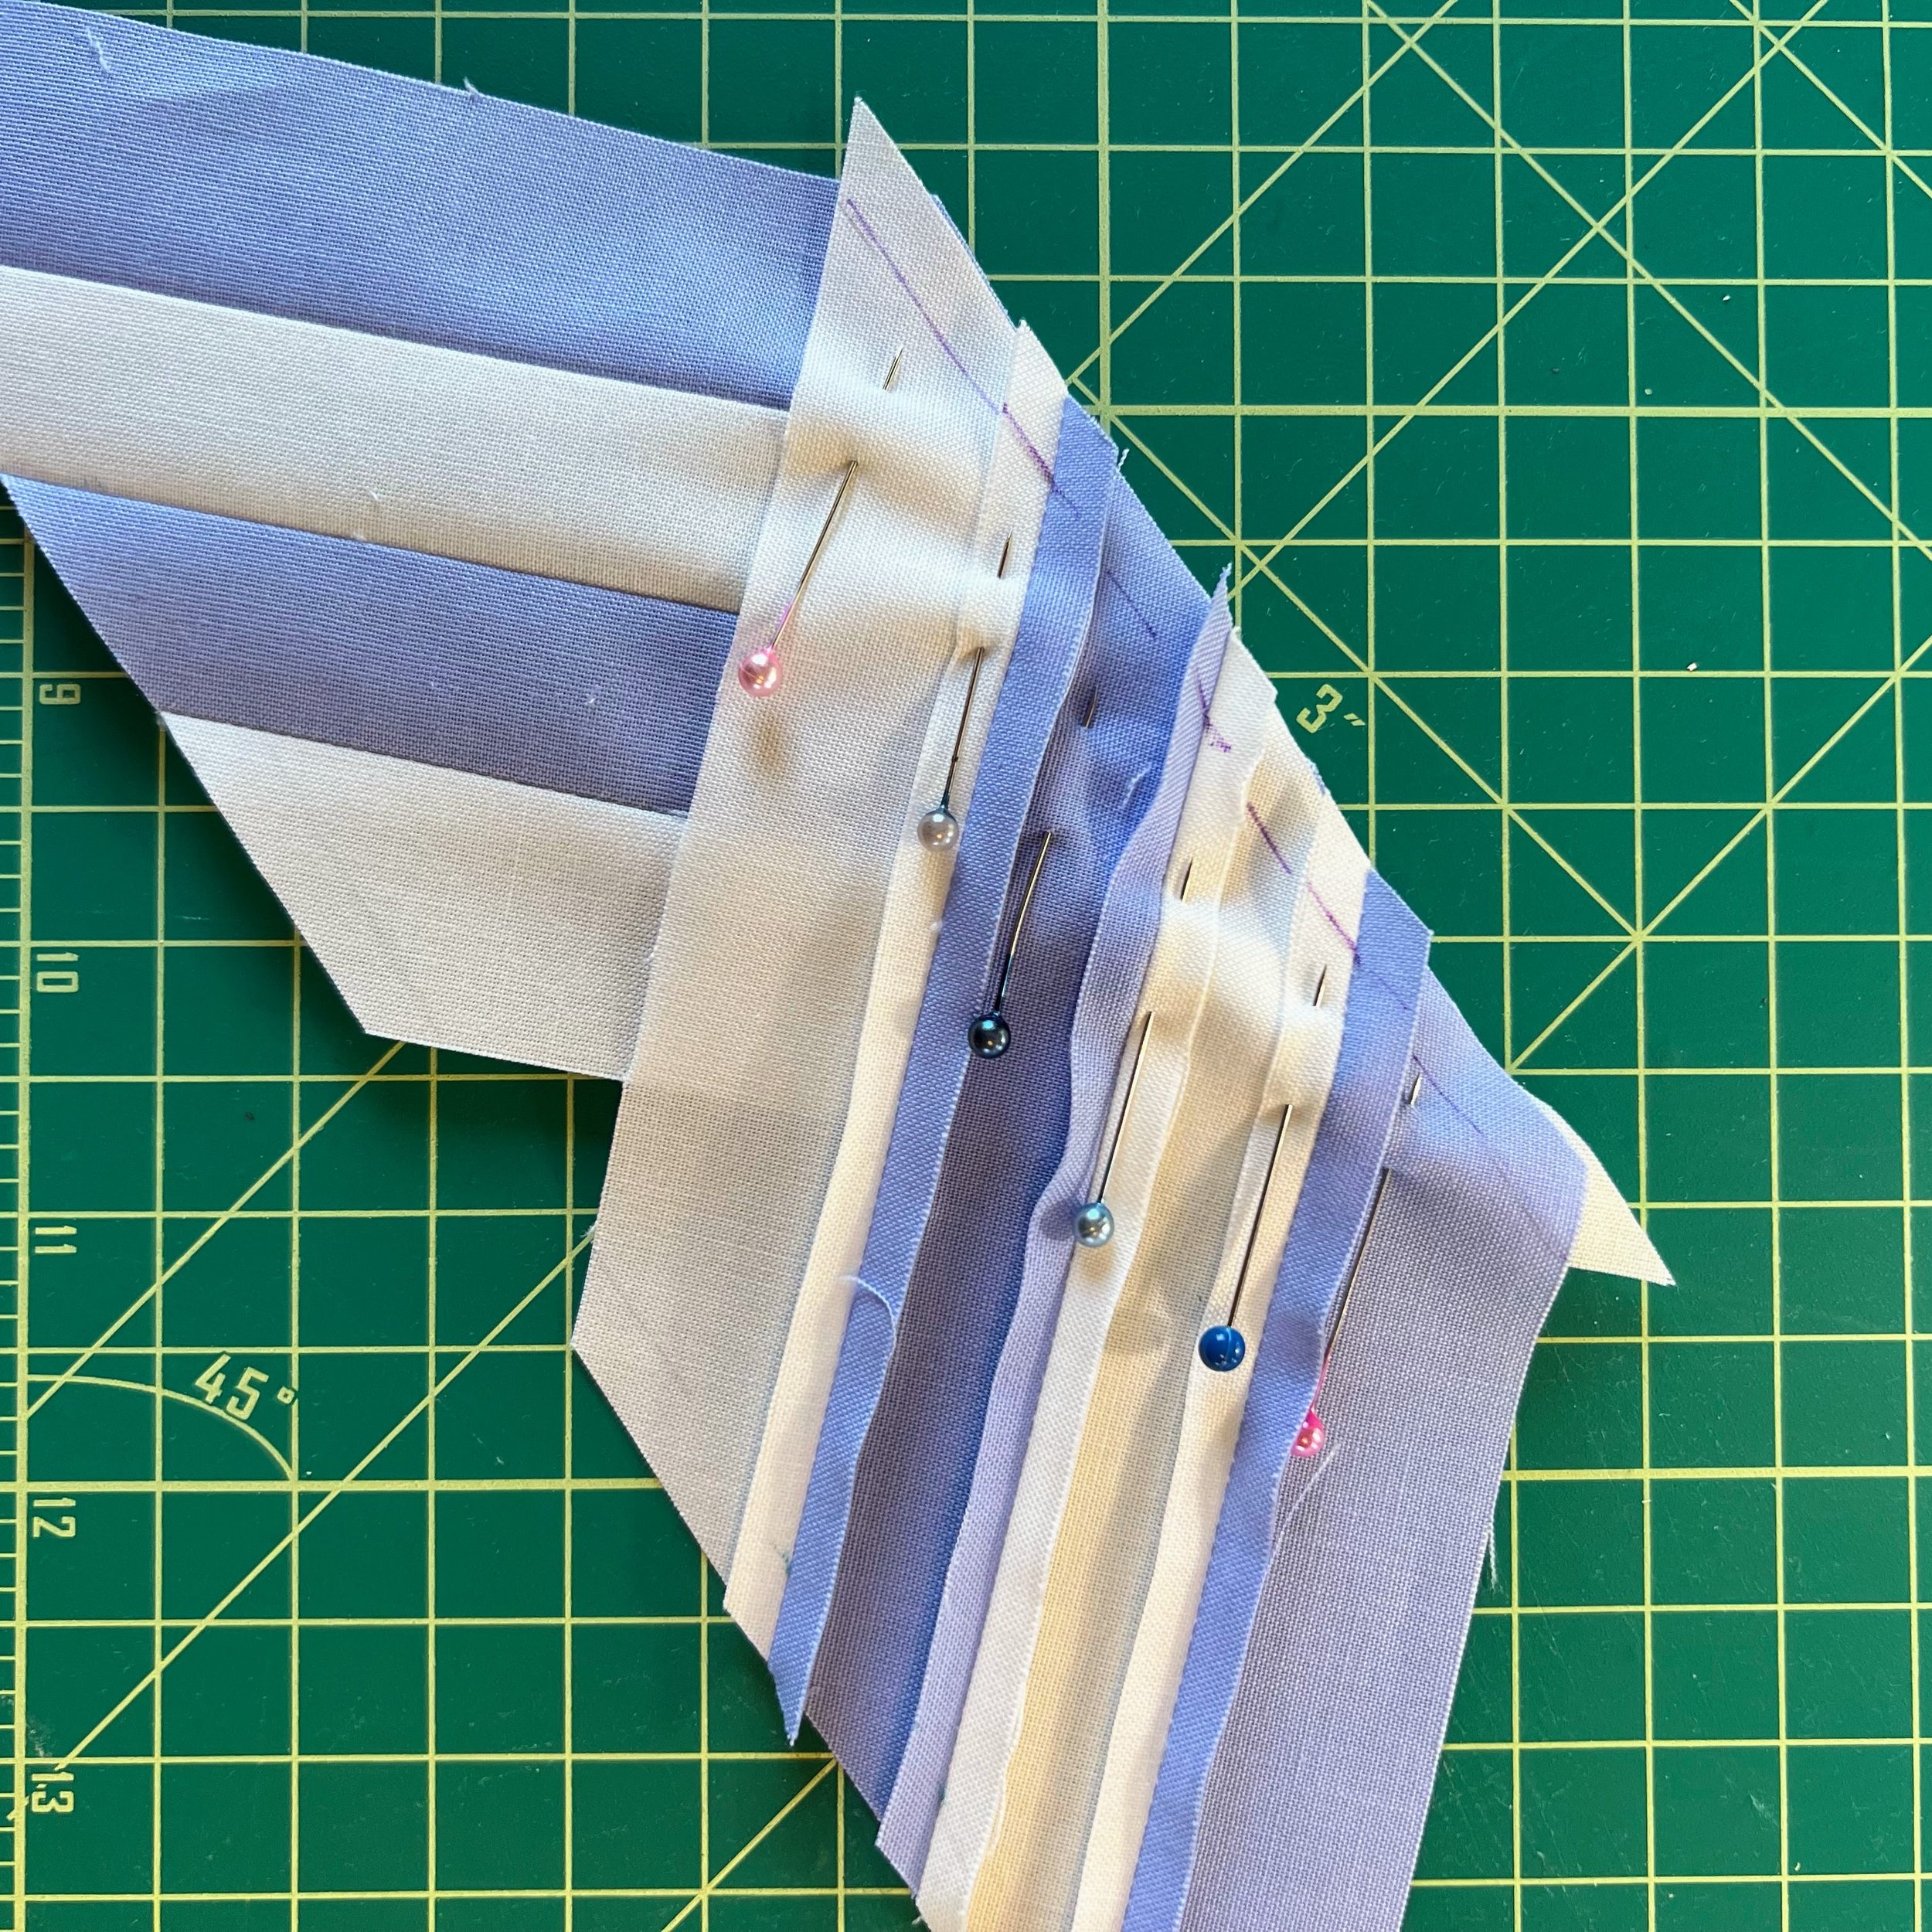
Once it all looks lined up, I really pin it down in place for sewing.
-

These are the setting pieces for the corners and ends. Again, organization was key for me!
-

All setting pieces have been sewn in place and now it’s time to sew the rows together. There are four quadrants and I worked on one quadrant at a time.
-

This is a finished quadrant! I was very pleased at how the seams and intersections matched up and the points didn’t get cut off.
-

All four quadrants sew together!
-
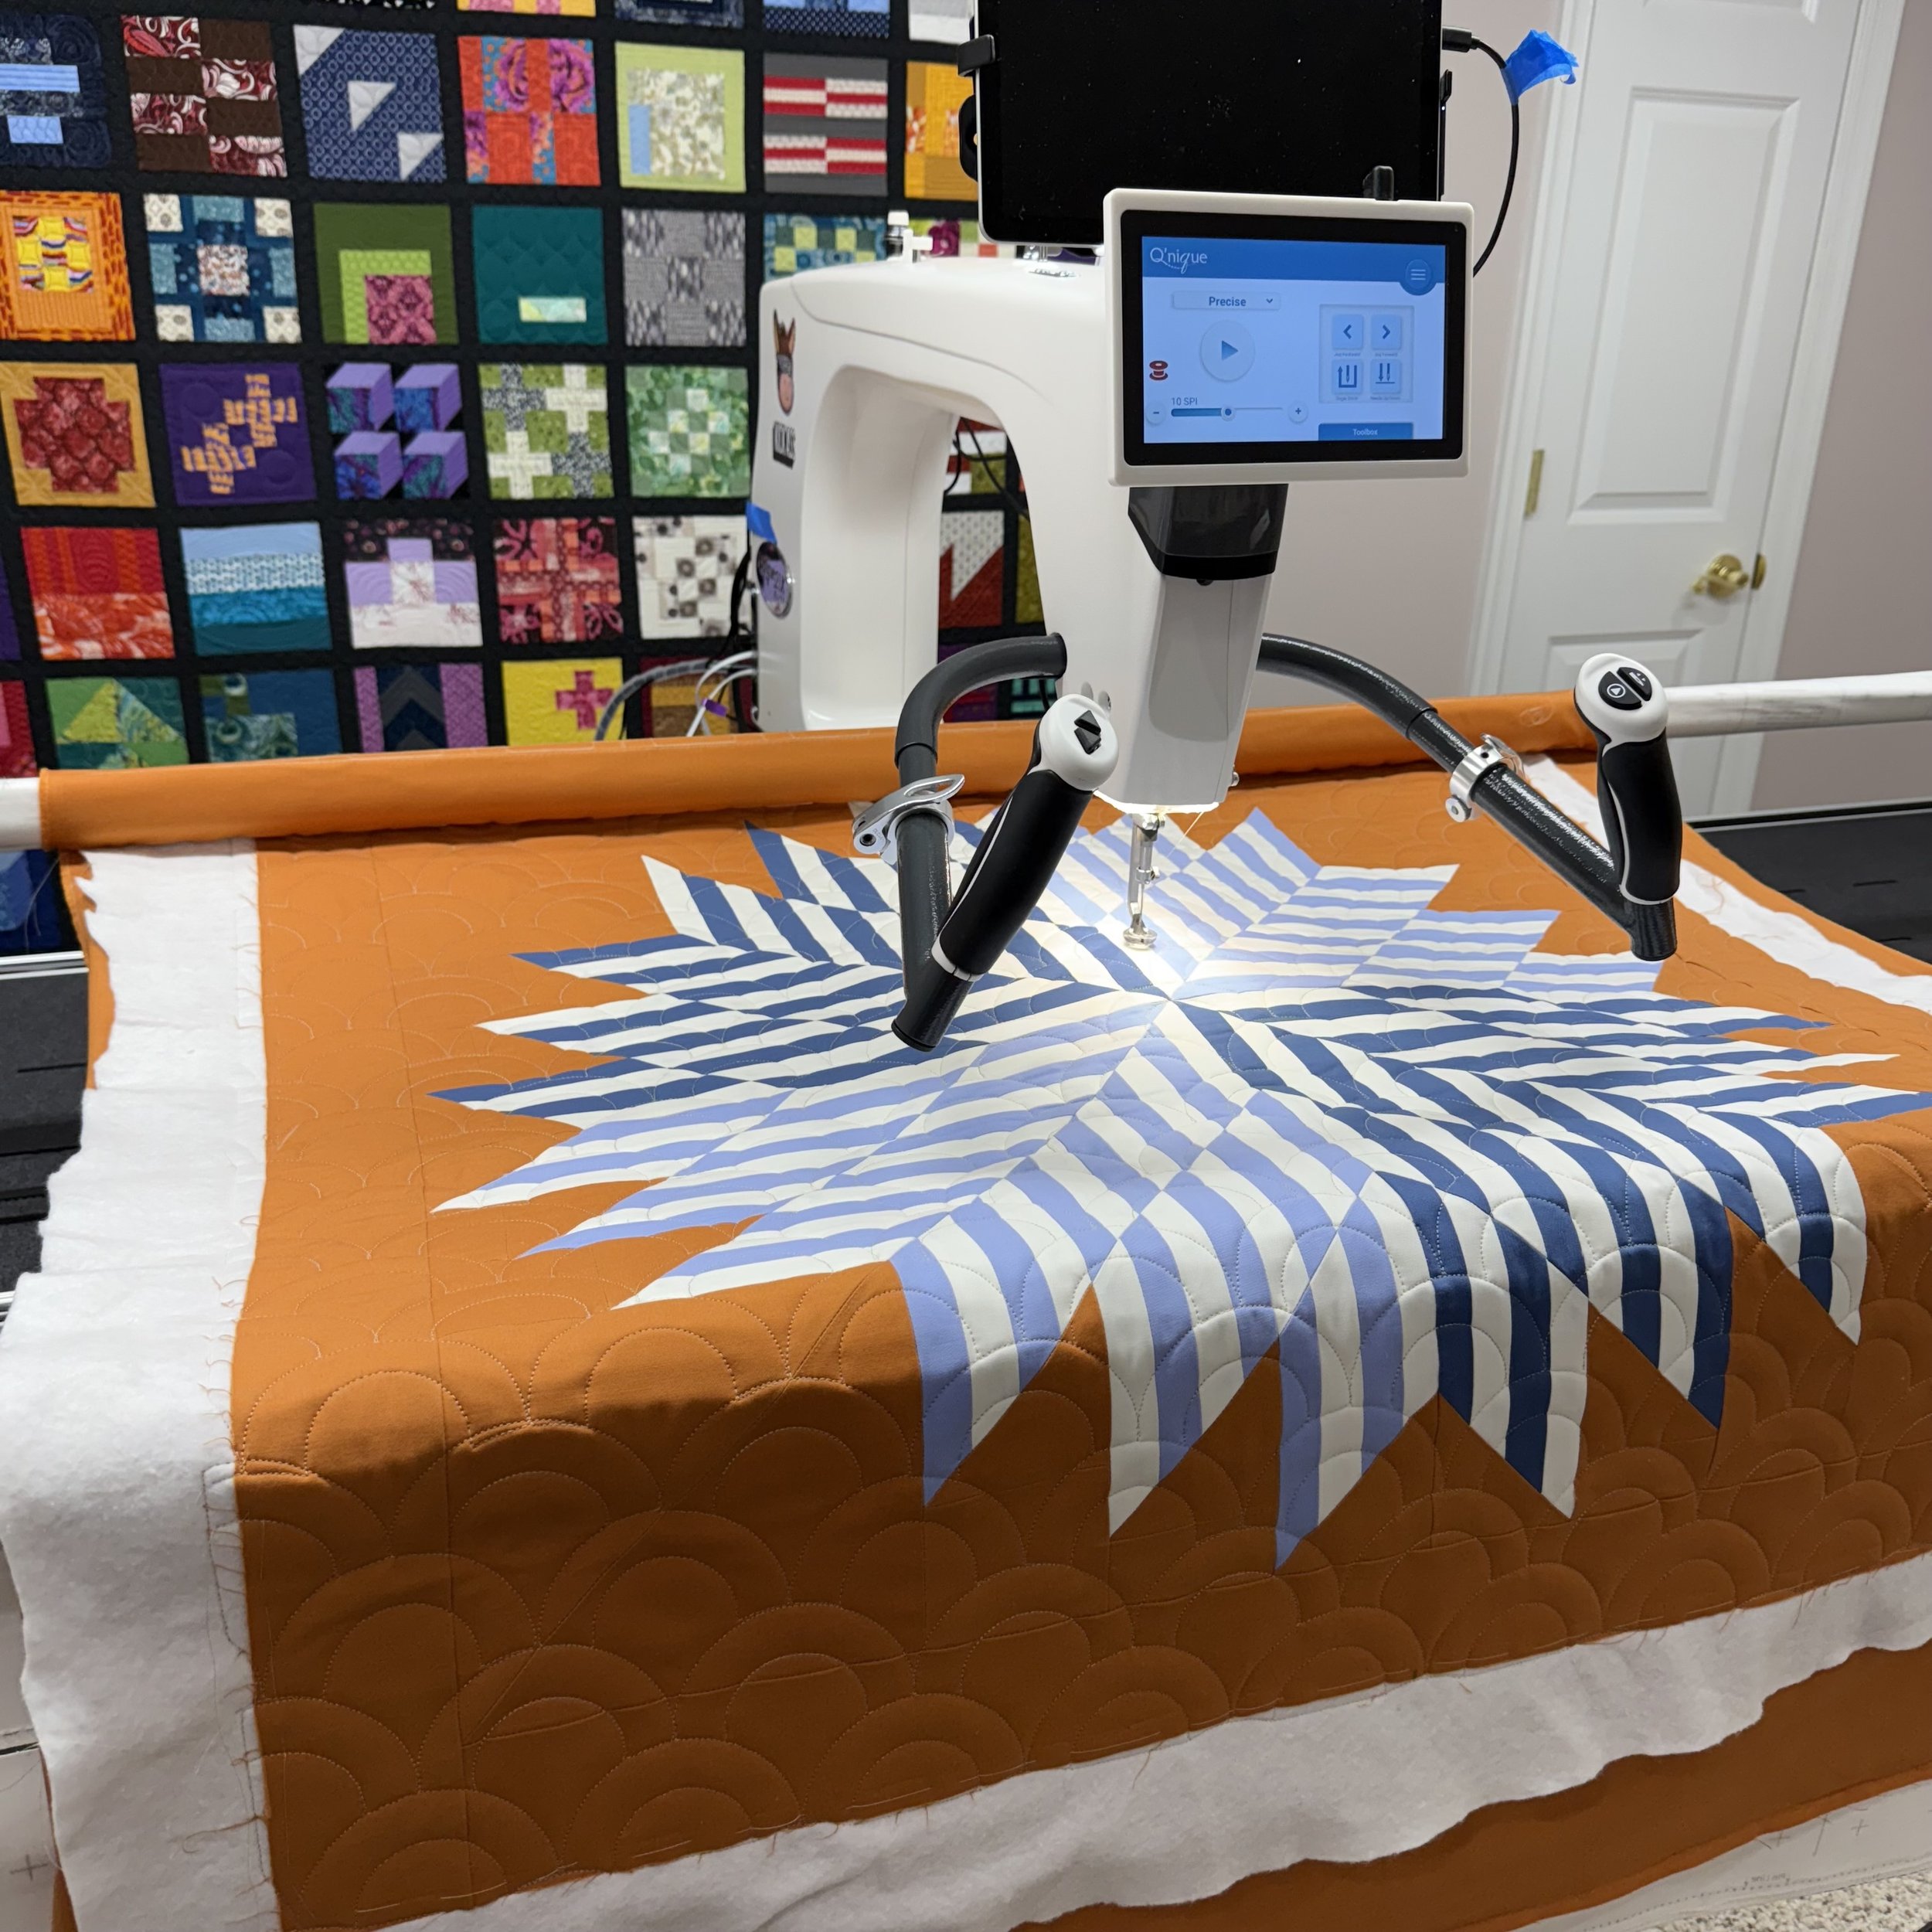
I quilted this on my longarm machine with a quilting pattern called Regnbue from Urban Elementz. I was a smaller project and stitched out quickly.
-

Still has the raw edges but this view really shows off the quilting pattern.
-

I sewed the binding on with my domestic machine.
-

The finished back.
-
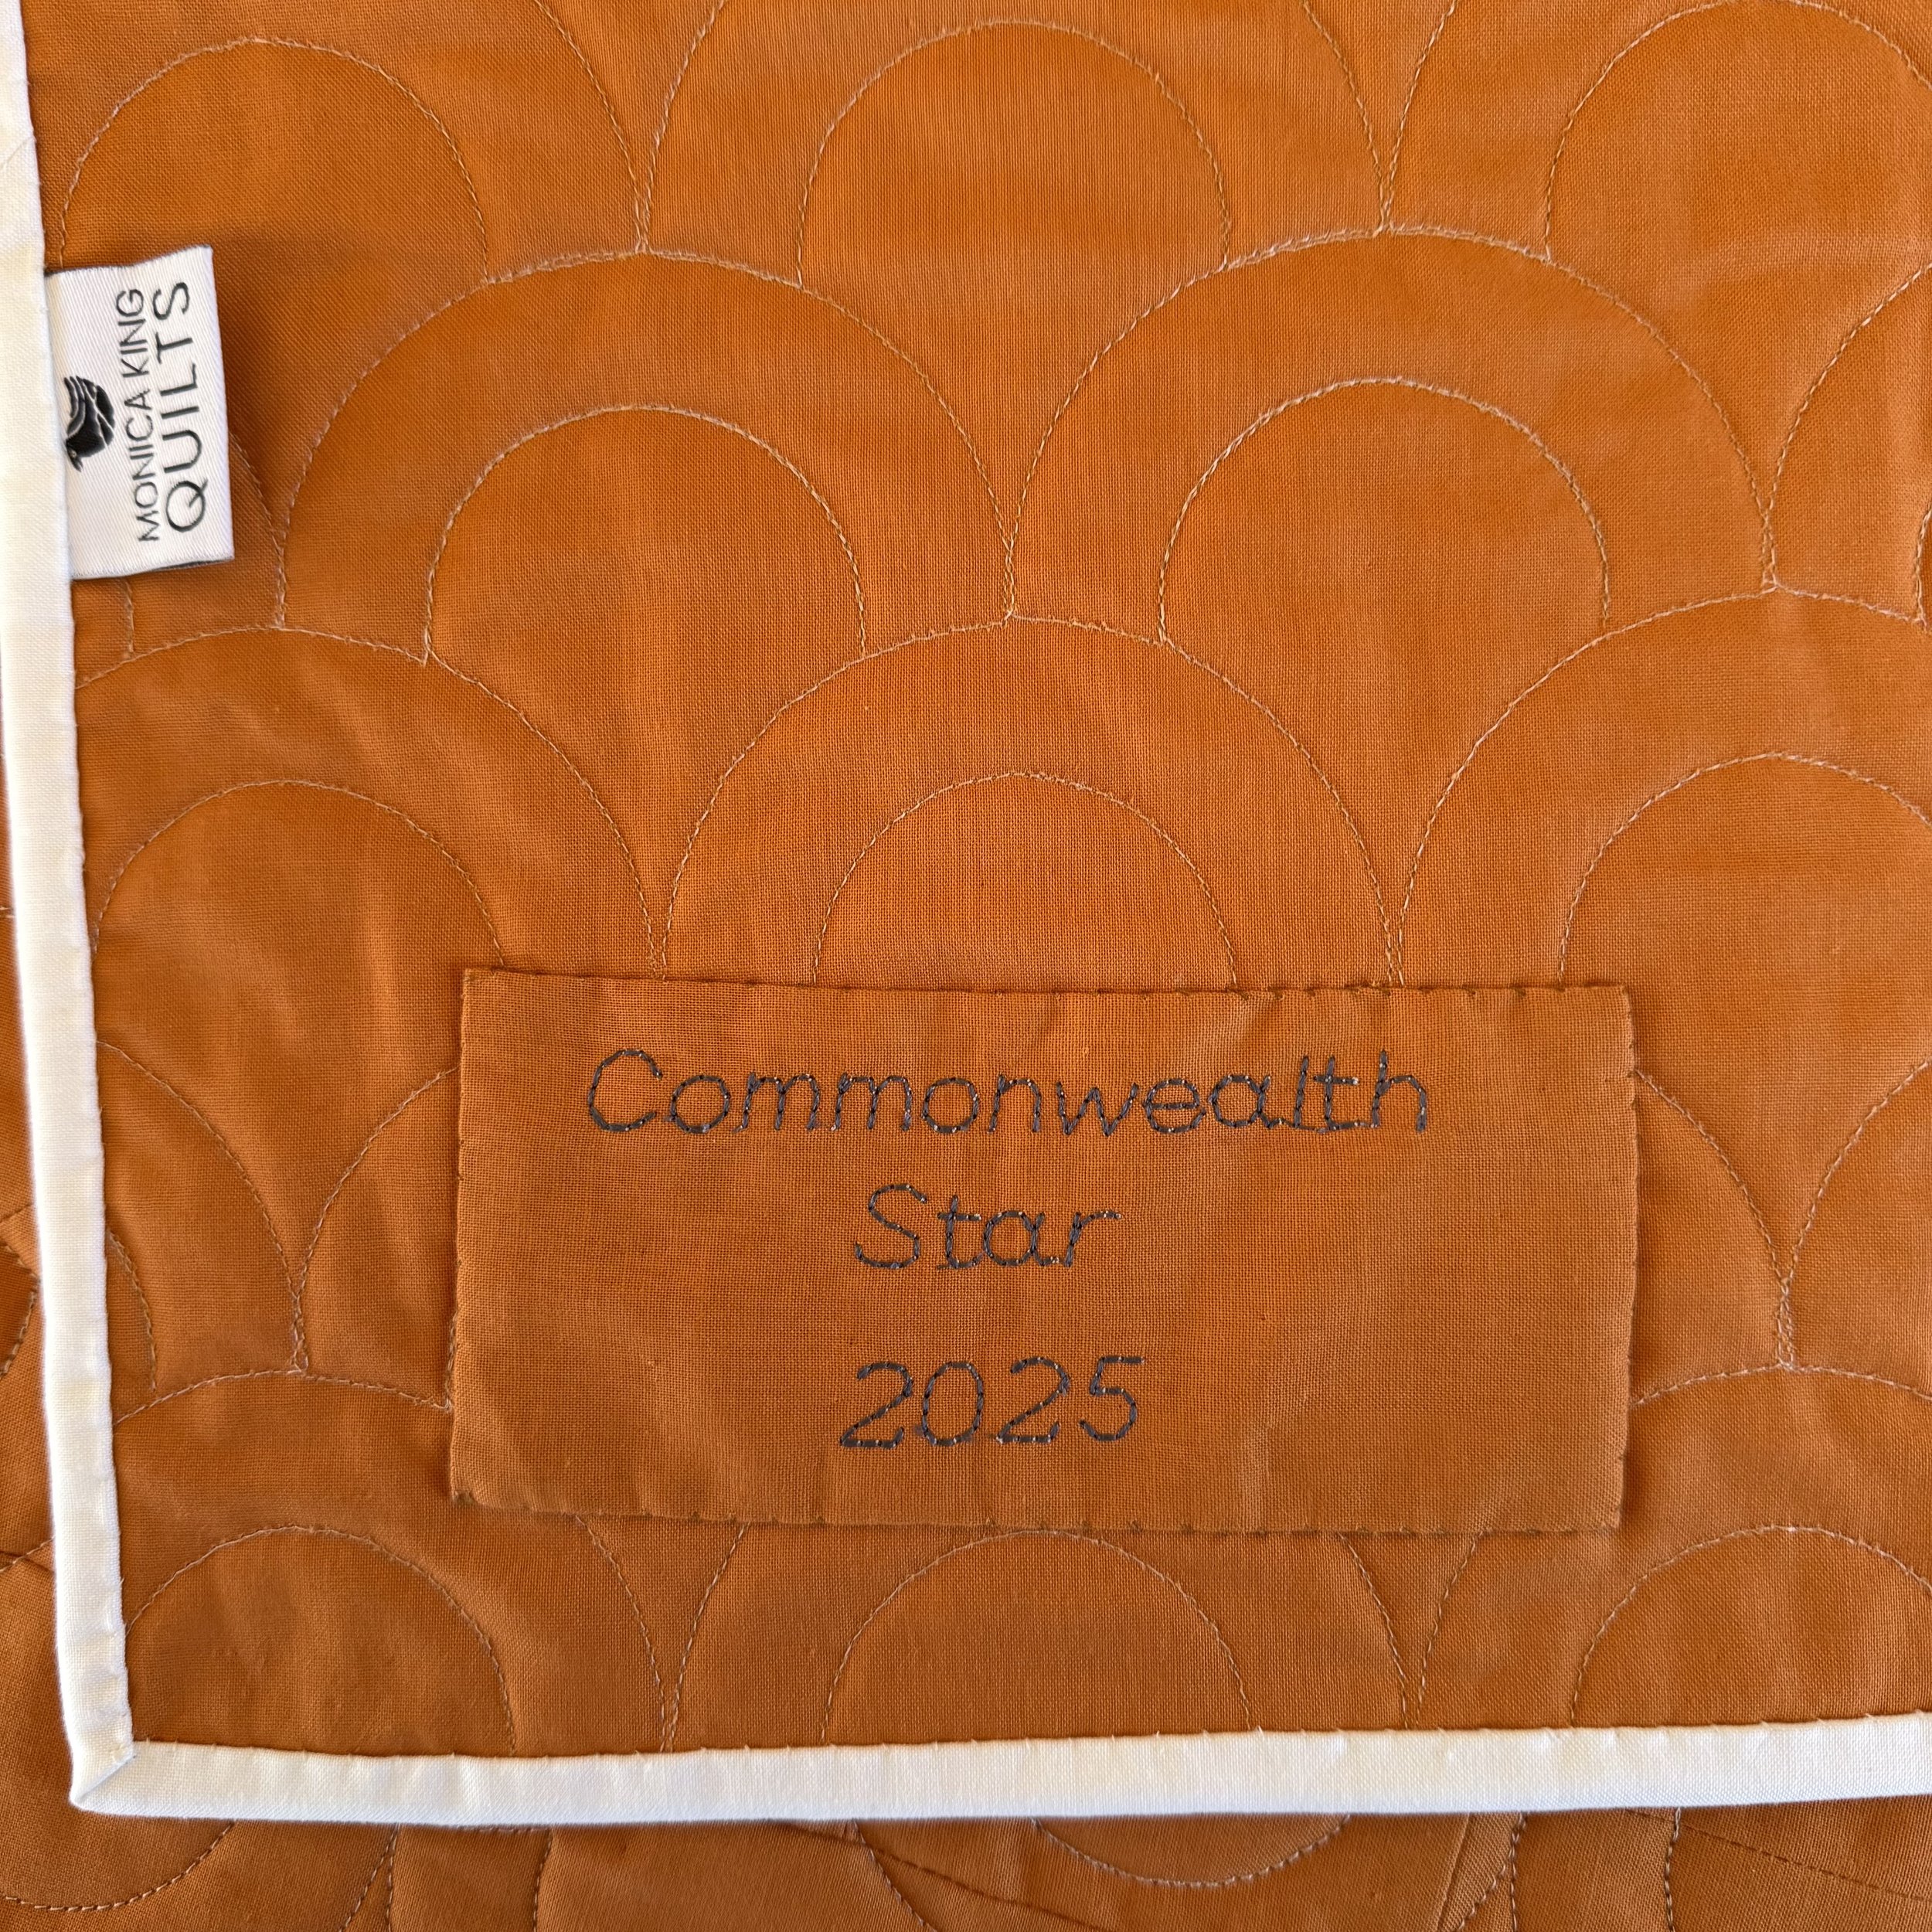
I added a label with the title and date.
-
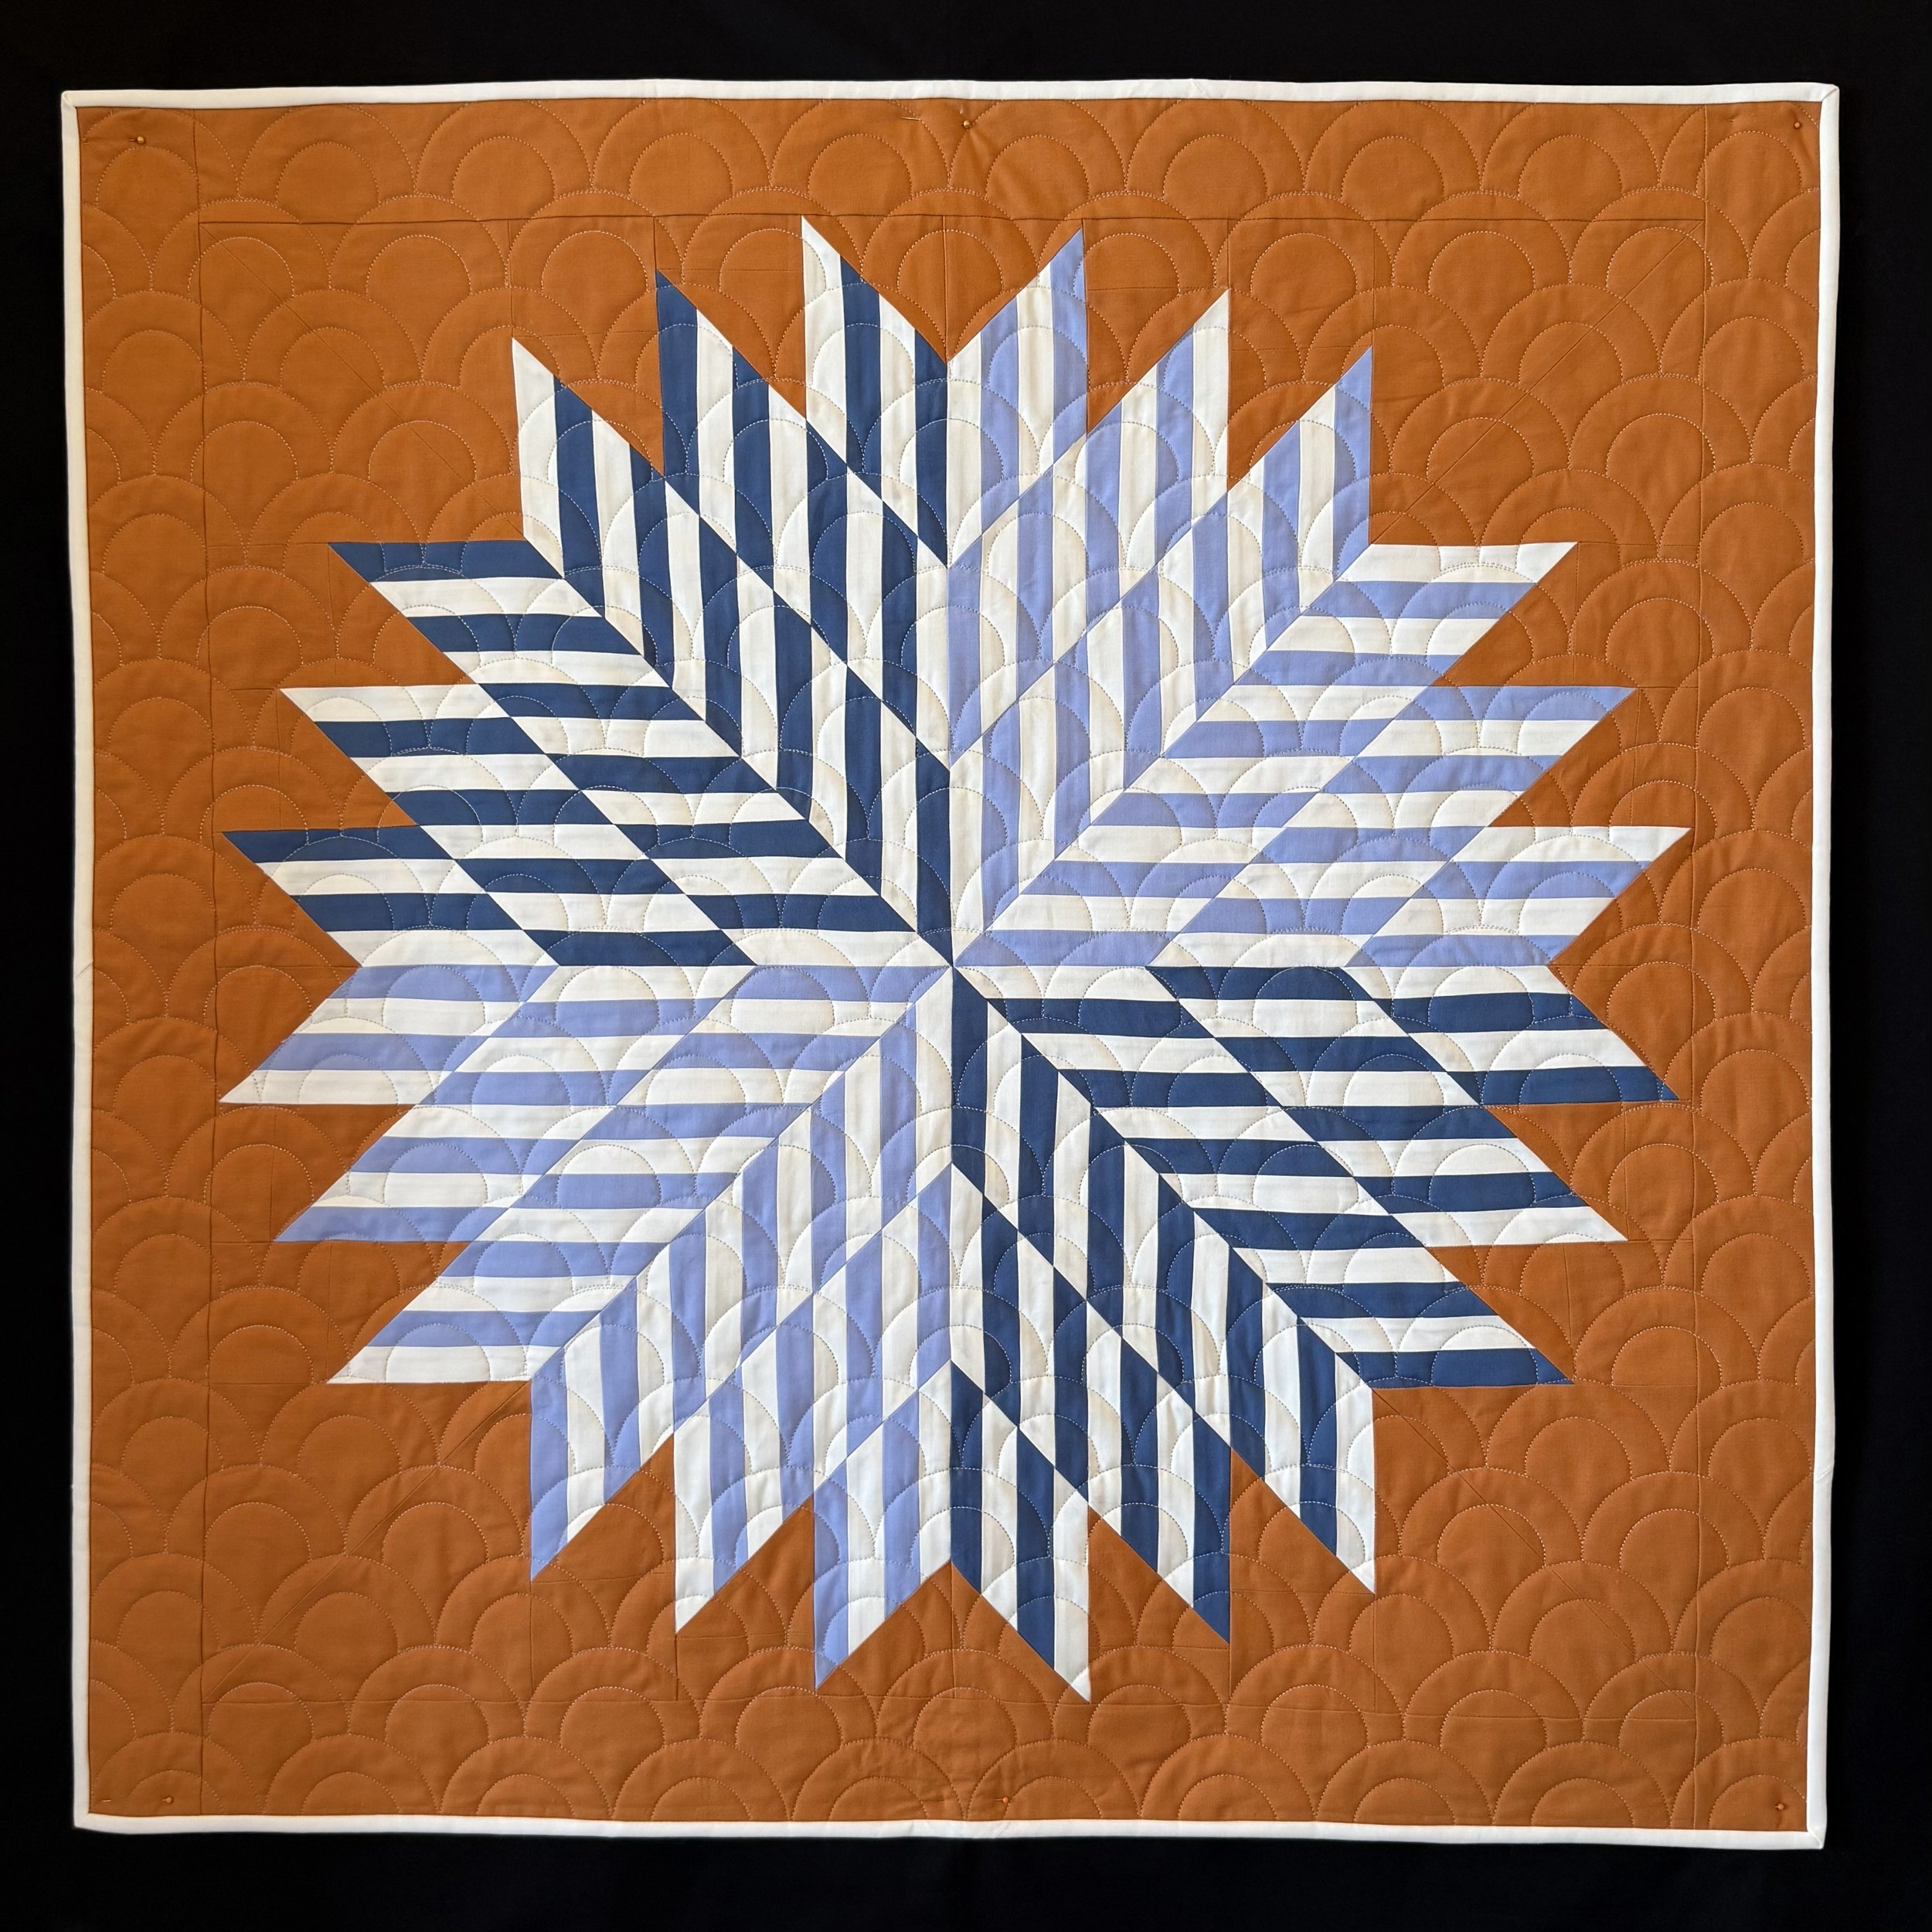
Commonwealth Star
March 2025
36” x 36”